Shooting Time Lapse Video: A Comprehensive Guide to Capturing the Passage of Time
Shooting time lapse video is an incredible way to showcase the transformation of subjects over extended periods. Whether you're documenting the construction of a building, the beauty of nature, or the hustle and bustle of city life, mastering this technique can elevate your video content significantly. In this article, we will explore various aspects of time lapse video creation, from the fundamentals to advanced techniques, to help you produce breathtaking results that can enhance your photography services, particularly in sectors like real estate.
Understanding Time Lapse Video: Definition and Basics
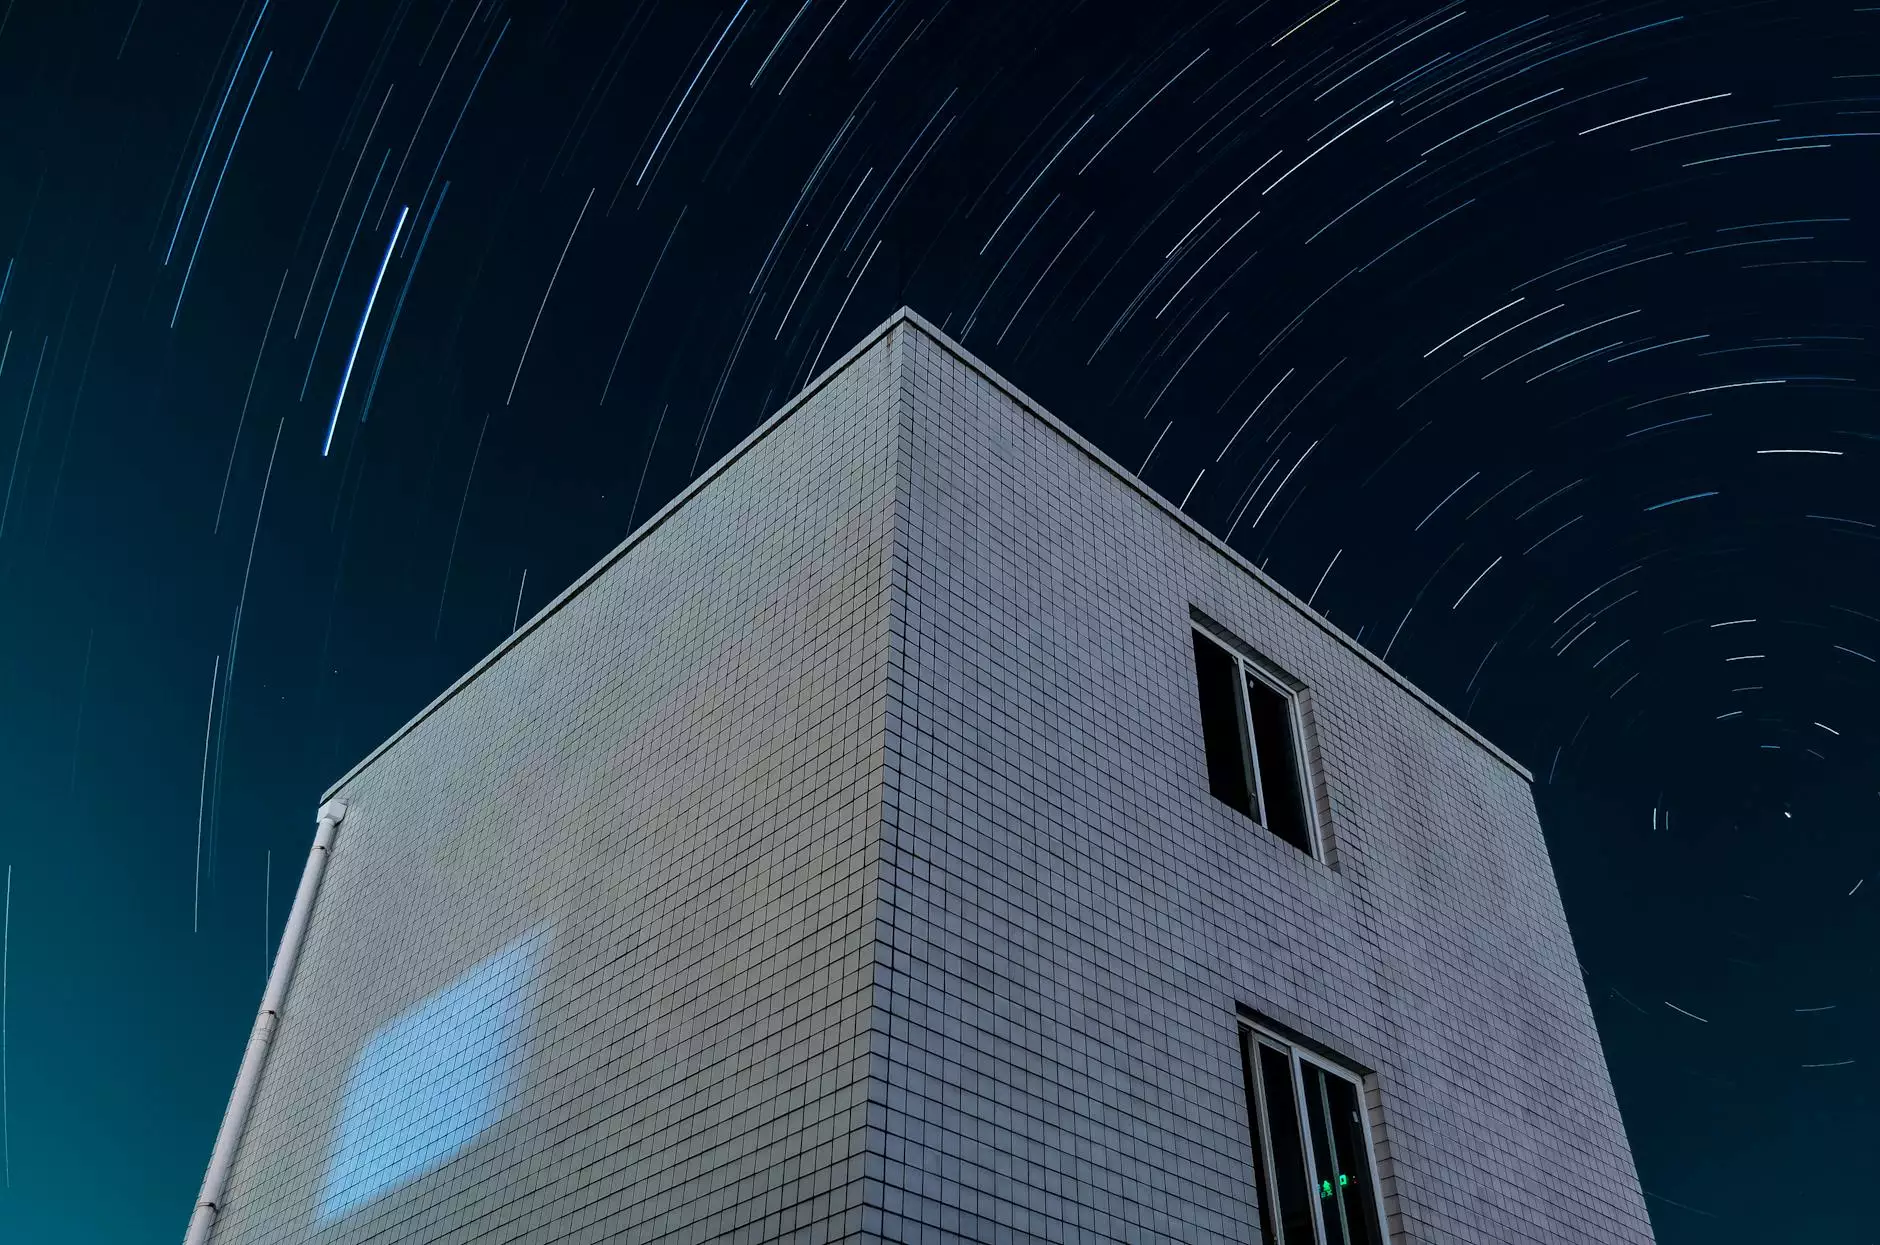
Before diving into the intricacies of shooting time lapse video, it’s essential to understand what it encompasses. A time lapse video compresses long durations into a shortened format, allowing viewers to witness events unfold at a dramatically increased speed. This technique is accomplished by taking a series of photos at specified intervals—ranging from seconds to hours—and playing them back at a fast frame rate, typically 24 to 30 frames per second.
Essential Gear for Shooting Time Lapse Video
To achieve high-quality time lapse videos, the right equipment is paramount. Below is a detailed list of essential gear you might consider:
- Camera: A DSLR or mirrorless camera provides the best image quality for time lapse. Look for models with a built-in intervalometer or remote control capabilities.
- Tripod: Stability is crucial in time lapse photography. A sturdy tripod prevents any camera shake that could ruin your footage.
- Intervalometer: If your camera lacks a built-in timer, an intervalometer is a must-have tool for automating the capture of images at specific intervals.
- ND Filters: Neutral Density filters are beneficial, especially for shooting in bright environments. They allow for longer exposures to create smoother transitions.
- Editing Software: Post-production is where your time lapse video really comes to life. Software like Adobe Premiere Pro, Final Cut Pro, or specialized time lapse software can help with stitching and color grading your footage.
Planning Your Time Lapse Shoot
Planning is half the battle when shooting a time lapse video. Here are key considerations to keep in mind:
1. Selecting a Subject
Choose subjects that change over time. Popular choices include:
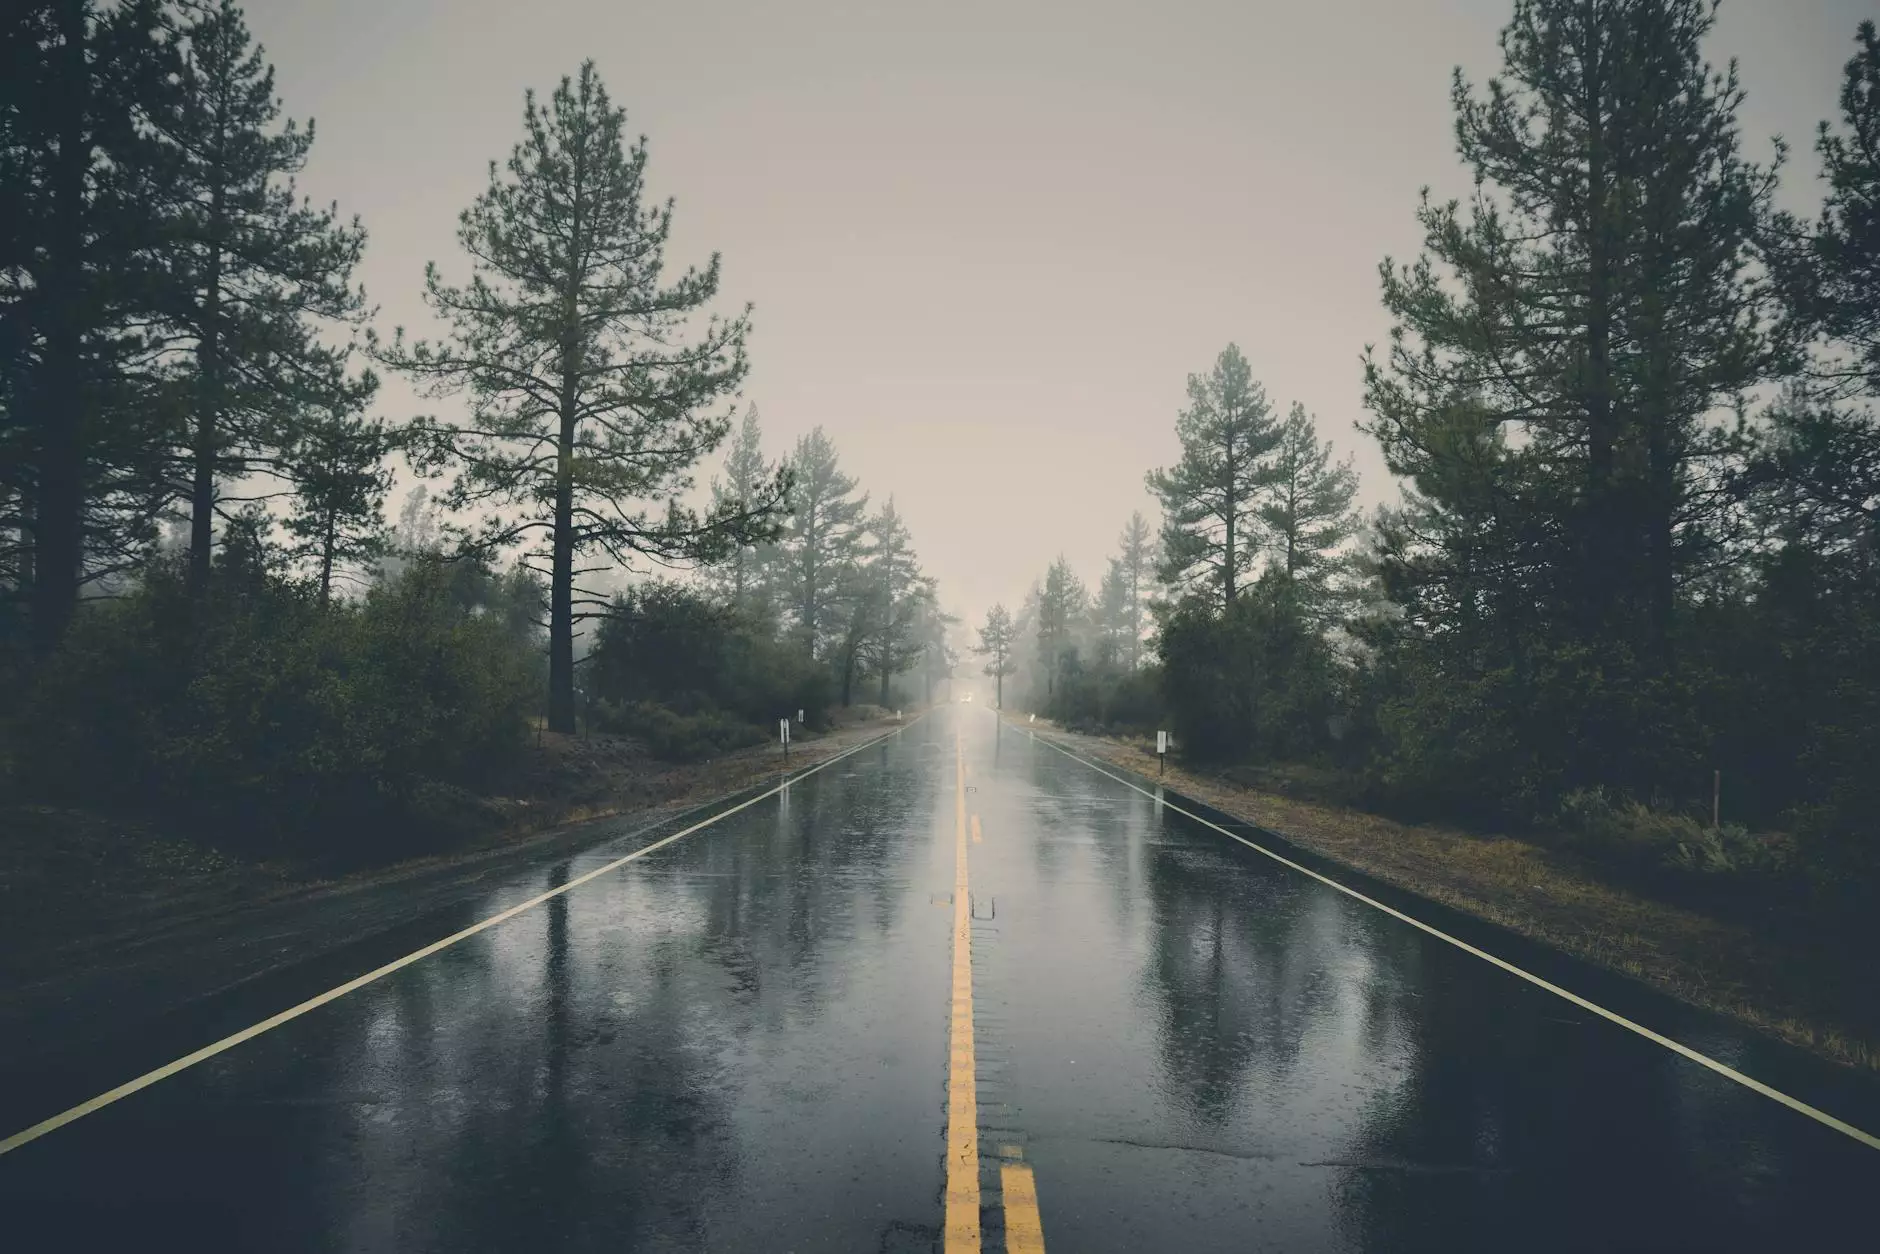
- Landscapes: Clouds moving, sunsets, or the changing seasons.
- Construction Projects: Progress from foundation to finished building.
- Natural Events: Flower blooming or ice melting.
2. Timing the Shoot
The duration of your shoot will heavily depend on your subject. For instance:
- For a construction project, you might want to shoot over several weeks, capturing daily progress.
- Natural events like a blooming flower may only require a few hours to a couple of days.
3. Setting the Interval
The interval at which you capture images is critical to maintaining smooth motion. Consider the following guidelines:
- Fast Motion: For quick events like traffic, a 1-2 second interval could be ideal.
- Slow Motion: For gradual changes like construction, consider a 10-15 minute interval.
Technical Settings for Shooting Time Lapse Video
Once you have your gear and plan, it's time to dive into the technical settings. Here's what you should focus on:
1. Exposure Settings
For the best results:
- Use manual mode on your camera to prevent fluctuations in exposure.
- Set your aperture appropriately; a higher aperture (like f/8 to f/16) can enhance depth of field.
- Choose your ISO setting based on lighting conditions; lower ISO generally produces less noise.
2. Focus
Manually set your focus before starting your time lapse, as autofocus might create unwanted shifts during the shoot. Locking it in ensures consistent sharpness throughout the series of images.
3. White Balance
Setting the white balance manually helps maintain consistent color throughout your footage, avoiding shifts in tone during transitions.
Post-Production Techniques for Time Lapse Video
After acquiring all your images, the next step is to compile and edit your time lapse video. Follow these steps for optimal results:
1. Importing Images
Import your sequence of images into your chosen editing software. Many programs have options to treat a batch of images as a video sequence.
2. Timing and Speed Adjustment
Adjust the speed of your sequence to achieve the desired playback rate. Typically, 24-30 fps is standard for a natural look.
3. Color Correction and Grading
Enhance the visual appeal of your footage through color correction. Adjust contrast, saturation, and hues to make your time lapse video visually striking.
Popular Applications of Time Lapse Video
Shooting time lapse video is not just a creative hobby—it's widely applicable across various industries. Here are some popular uses:
1. Real Estate Marketing
In real estate, showcasing a property’s transformation or a neighborhood over time can greatly influence buyer interest. Time lapse can capture everything from renovations to seasonal changes in landscaping, offering potential buyers a unique perspective.
2. Event Documentation
Documenting events like weddings, festivals, or conferences with time lapse footage can create captivating highlights that encapsulate the atmosphere and progress of the day.
3. Environmental Awareness
Time lapse videos are powerful tools for environmental storytelling, showcasing climate change, urbanization, and natural phenomena impacting our planet.
Tips for Achieving Stunning Time Lapse Videos
To ensure your time lapse videos stand out, consider the following professional tips:
- Experiment with Angles: Don’t hesitate to change your perspective. Unique angles can add a dynamic element to your footage.
- Plan for the Weather: Check forecasts before your shoot. Different weather can dramatically change your video’s mood.
- Stay Patient: Time lapse photography often takes time, so be prepared to wait. Some subjects may require hours or days to get the right shot.
- Combine Techniques: For greater storytelling, consider complementing your time lapse with traditional footage. This can create a richer viewing experience.
Conclusion: Elevating Your Craft with Time Lapse Video
Shooting time lapse video is a remarkable way to tell stories that resonate with audiences. By understanding the equipment needed, meticulously planning your shoots, and mastering post-production techniques, you can create captivating visuals that stand out in any medium. Such skills not only enhance your portfolio as a photographer but also significantly benefit businesses, particularly in sectors like real estate photography. At bonomotion.com, we encourage you to embrace the art of time lapse to showcase your unique vision and engage your audience in ways that traditional photography may not achieve. Dive in, and let your creativity flow through the lens!